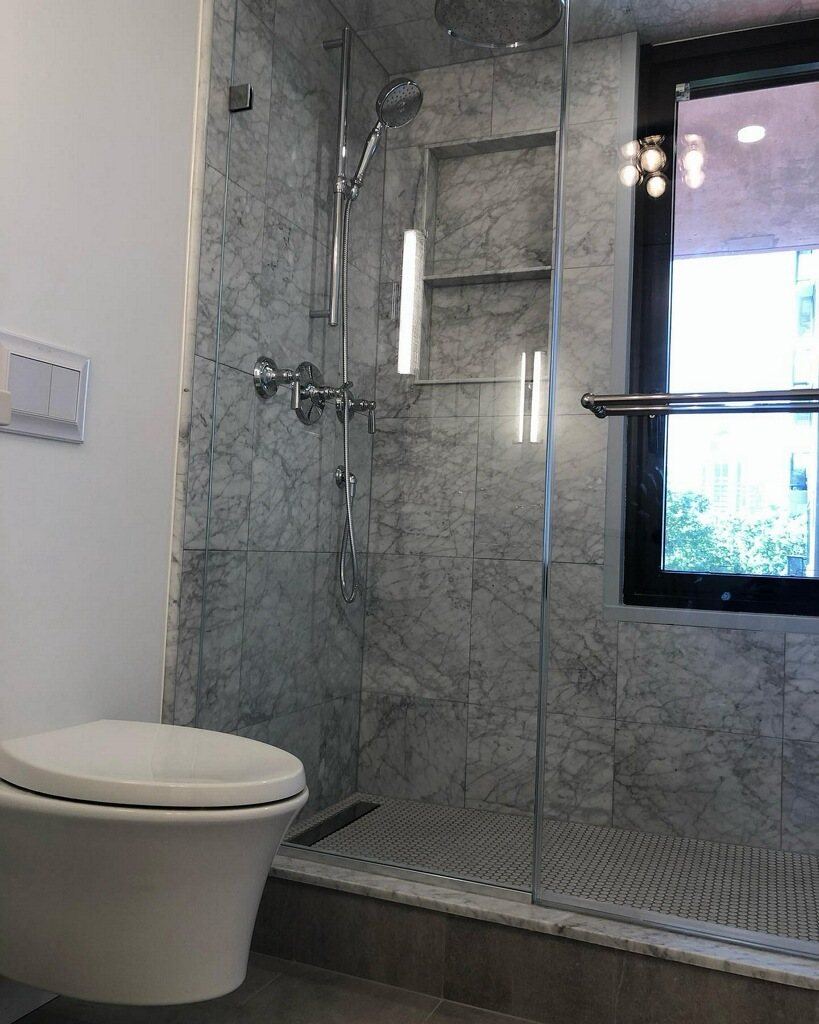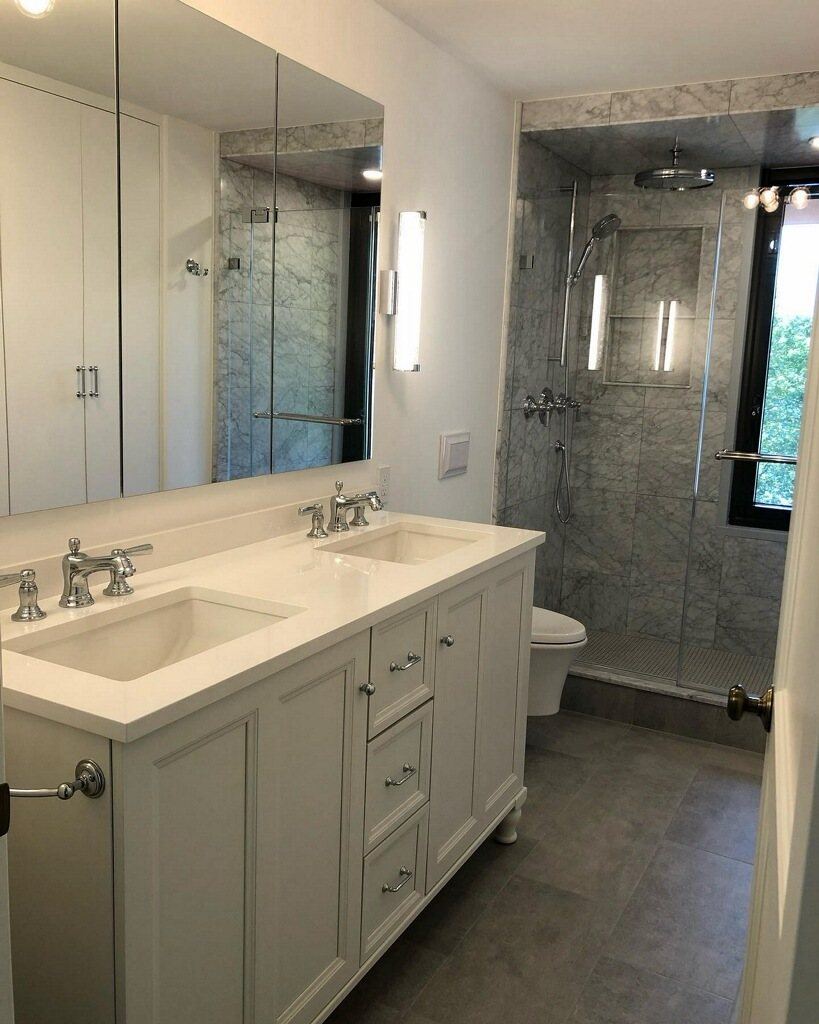
Most bathroom problems come from steps done in the wrong order: a valve set at the wrong depth for the tile, a fan circuit forgotten until after the ceiling is closed, a niche that doesn't line up with the grout. Here's the sequence we follow.
1. Demo and inspection of what's behind the walls
Take the room down to the studs and subfloor. This is when you find old leaks, rotted subfloor or outdated wiring, so it's the moment to adjust the plan before anything new goes in.
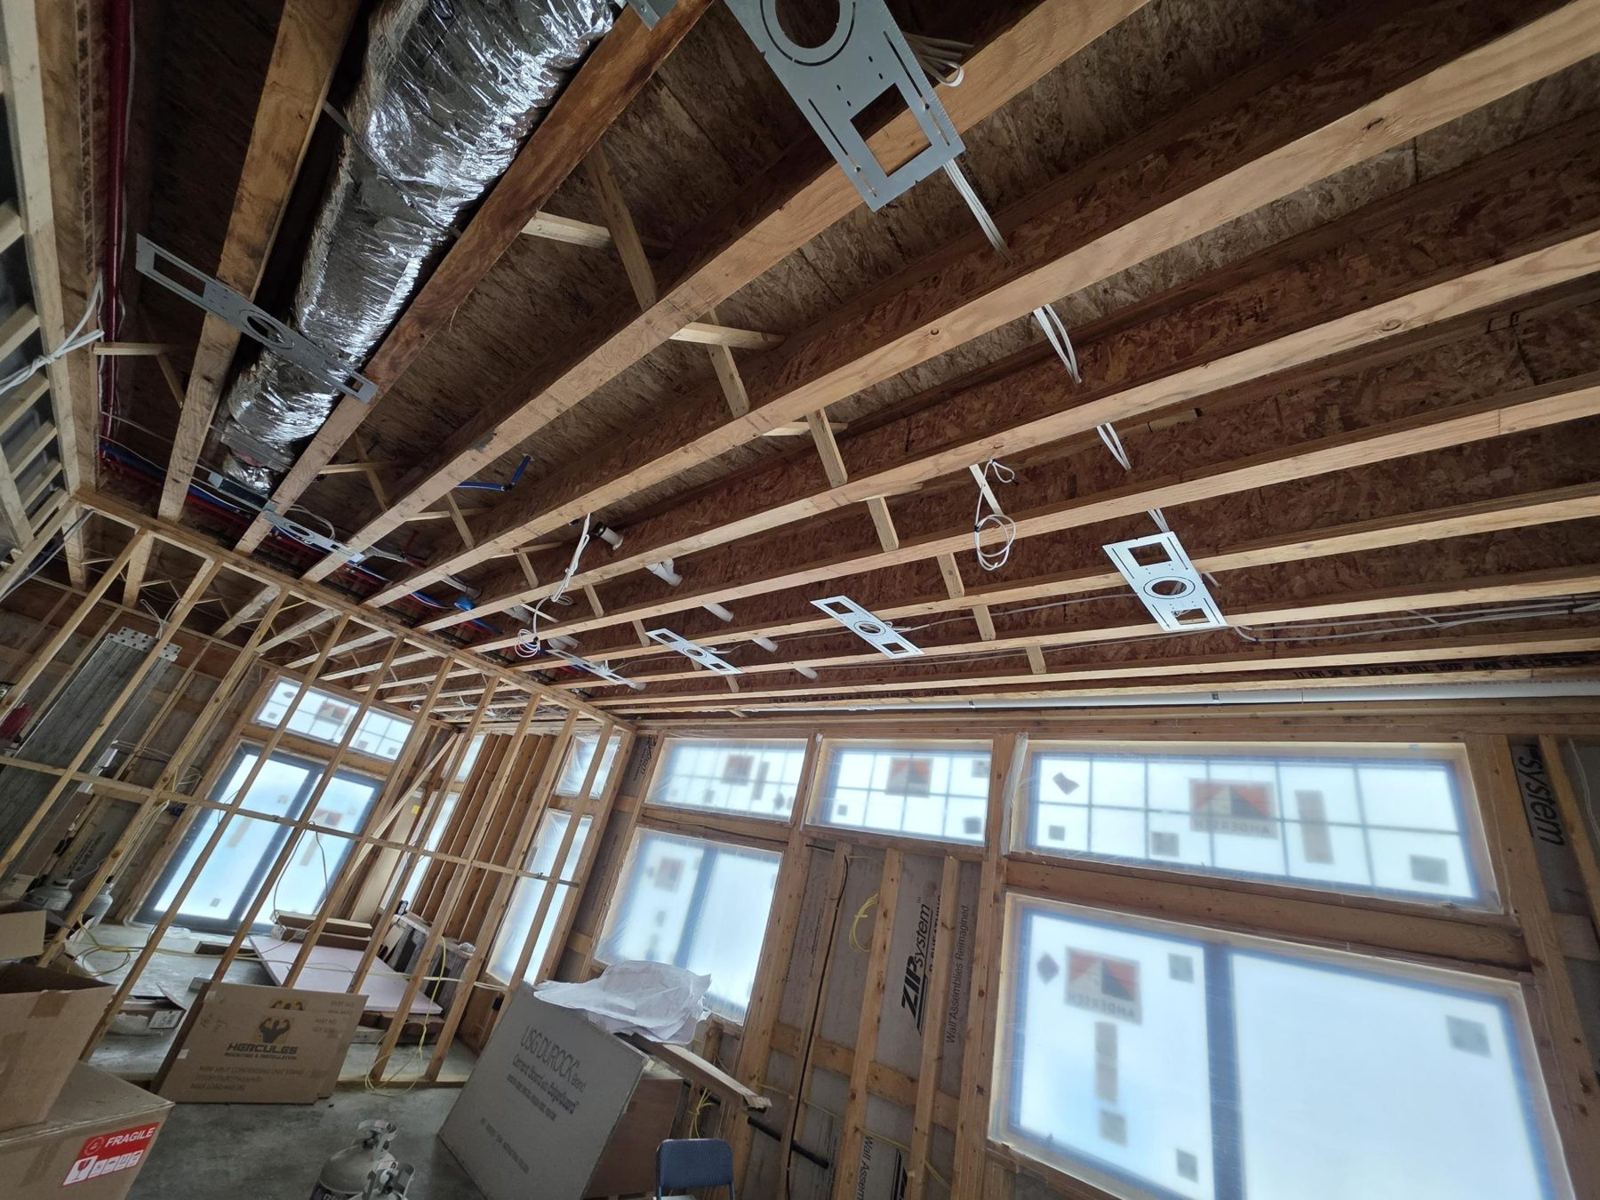
2. Framing and blocking
Frame niches, benches and any wall changes, and add blocking behind every grab bar, towel bar, vanity, glass hinge and wall-hung toilet. Blocking is cheap now and impossible later.
3. Plumbing rough-in
Set drains, supply lines and valves. Valve depth depends on the final wall thickness, so tile choice should be decided before this step.
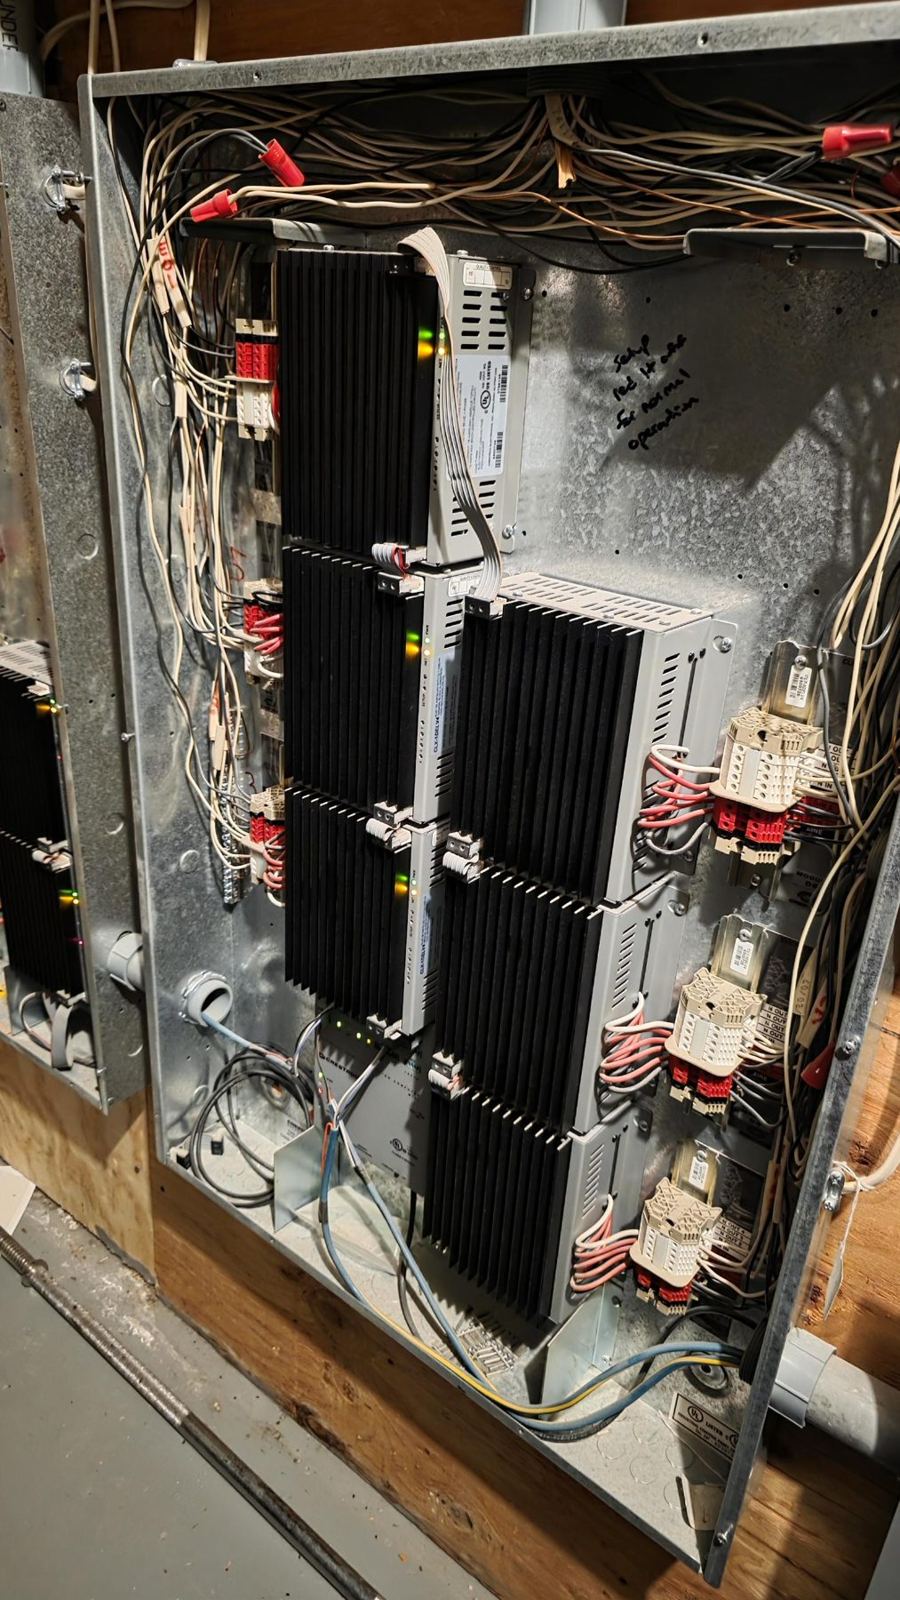
4. Electrical and low-voltage rough-in
Run circuits for lighting, outlets, exhaust fan, heated floors and any smart toilet or mirror. Add speaker wire for waterproof ceiling speakers if you want them.
5. Inspections
Plumbing and electrical work that requires permits gets inspected before walls close. Closing up first is how projects end up opening walls twice.
6. Backer board and waterproofing
The shower is only as good as its waterproofing. Wet areas get a proper membrane and flood testing before tile.
7. Tile
Floors and walls, with niches and trim lined up to the layout planned during framing.
8. Fixtures, vanity and trim
Toilet, vanity, faucets, trim kits, lighting and accessories go in after tile and paint.
9. Glass and punch list
Shower glass is measured after tile is finished, so it's usually one of the last items. Then a final walkthrough to catch anything left.